Showing posts with label CQC. Show all posts

Wednesday, June 13, 2012

ColourQ Challenge #141

I can't believe I haven't played along with the ColourQ gang since the end of January!! It was challenge #121 - wow!! I guess the impending move has got me freaked out that I can't stamp with all my goodies on hand and given me the motivation to stamp while I can, lol!!! Hopefully, *fingers crossed*, we won't have the same issues with getting our household goods like we did arriving here!

My card for this week's challenge:
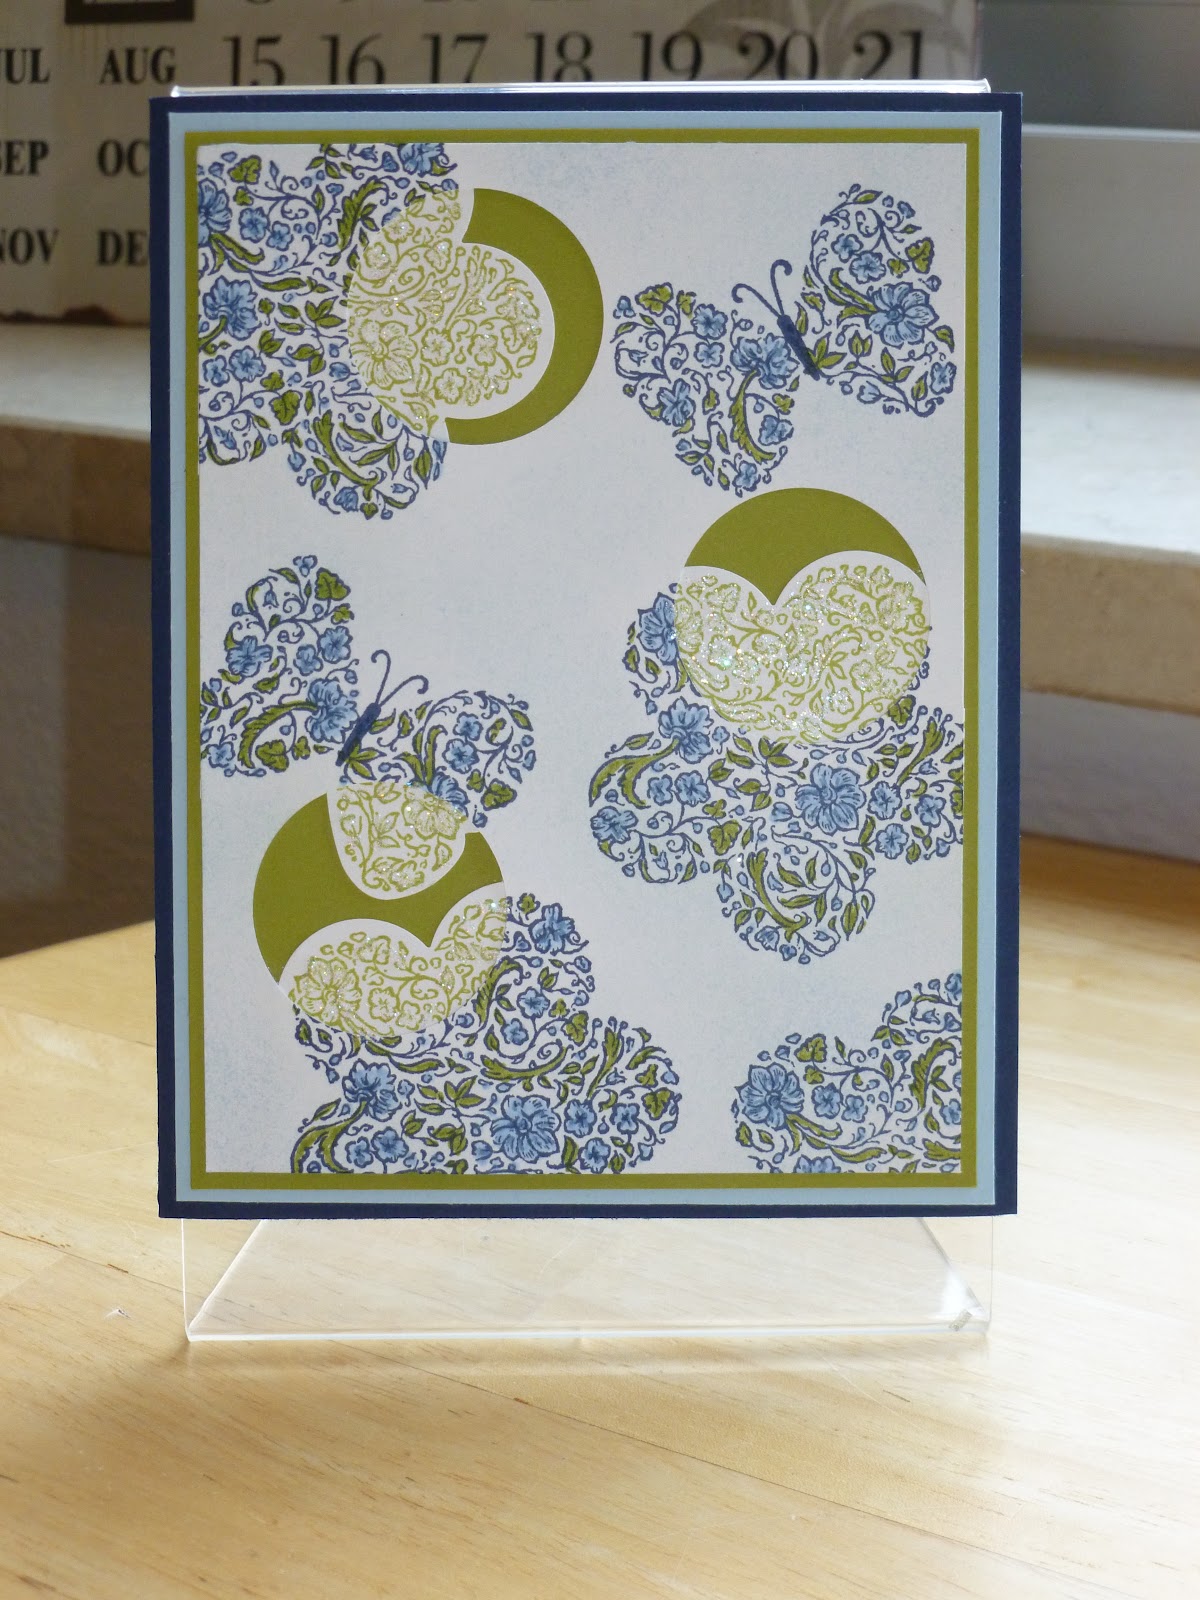
I saw this Reverse Spotlighting technique on Debbie's blog this morning and just knew I had to try it for myself. And when I saw the ColourQ's color choices this week, everything just fell together! I love it when that happens!!

Side View
I colored the images with Stampin Up markers (Bashful Blue, Brocade Blue & Lucky Limeade), and on the spotlighted sections, I used glitter. I love how all the colors coordinate with the different products in the Stampin Up line!! This bold pattern really 'pops' off the card. I didn't like all the white areas, so I lightly sponged it with Bashful Blue. Too much white kind of freaks me out, lol! I couldn't figure out how to add ribbon without overpowering the project, so for once, there's no ribbon on one of my cards.

Inside

Recipe:
Stamps: Floral Fillers, Butterfly Prints
Paper: Whisper White, Night of Navy, Bashful Blue, Lucky Limeade
Ink: Night of Navy, Lucky Limeade
Accessories: Bashful Blue, Brocade Blue & Lucky Limeade markers, Lg. Flower punch, butterfly punch, 1 1/4" circle punch, dazzling diamonds glitter, ribbon banner nestie, top note die, sponge

If you'd like to play along this week, click on the ColourQ badge at the top of this post! Good luck!

Friday, January 27, 2012

ColourQ Challenge #121 & Mojo Monday #225 - TwoFer!

I took a bit of a break on challenges, but I'm back with a "twofer"!! I'm using the colors from ColourQ (mostly!) and the layout from Mojo Monday!

&

My card for these challenges:

Close Up

Side View
Recipe:
Stamps: Surprise Tilda
Paper: Poppy Parade, Old Olive, Crumb Cake, Cryogen White, Twitterpated DSP
Ink: Memento Tuxedo Black, Copics
Accessories: Liquid Applique

I was just itching to add, add, add to this card, but I resisted and stayed true to the layout, lol! I wanted to add brads, or ribbons, or pearls, or glitter, or something!!!! What do you think?? Less is more? Or just less??

Sunday, January 15, 2012

ColourQ Challenge #119

I wasn't sure if I was going to be able to post this in time, but I did! I decided to go for a more simple style for this challenge.

This is the card I made for this challenge:

Recipe:
Stamps: Circle Circus, Tiny Tags, Candy Conversations (inside)
Paper: Whisper White, Melon Mambo, Pretty in Pink
Ink: Going Gray, Pumpkin Pie, Melon Mambo
Accessories: jewelry punch, small heart punch, Calypso Coral baker's twine, mini glue dots, EK border punch, finial press embossing folder

Sunday, January 8, 2012

ColourQ Challenge #118

I was really puzzled on what to do with the colors for this week's challenge! But I wanted to play so I knew I had to figure something out, and quickly!!! While looking over my hoards of paper, I saw the new Sale-A-Bration stack Everyday Enchantment and the light bulb went on!!! (Don't you just love when that happens?) The colors weren't exactly the same but it did have the same group of colors (Poppy Parade, Lucky Limeade, Calypso Coral and Pool Party).

This is the card I made:

Close up of the image:
Recipe:
Stamps: Butterfly Tilda, Loving Thoughts, Pursuit of Happiness (inside)
Paper: Everyday Enchantment DSP, Lucky Limeade, Pool Party, Cryogen White
Ink: Memento Tuxedo Black, Versamark
Accessories: Clear embossing powder, Oval & Scalloped oval nesties, pennant nestie, scalloped border punch, SU ruffled ribbon, butterfly embosslit, Copics, corner photo die, dimensionals

Monday, October 3, 2011

My "Epic Fail" Card - ColourQ Challenge #101

I was on a roll...stamping regularly...doing challenges...getting them posted on time....and then I had my final dental appointment. And everything just stopped. Again. *sigh* I also found out that the person I was making this birthday card for, had her birthday several weeks beforehand. I was only off by about six weeks. *double sigh*

But it's the thought that counts, right??

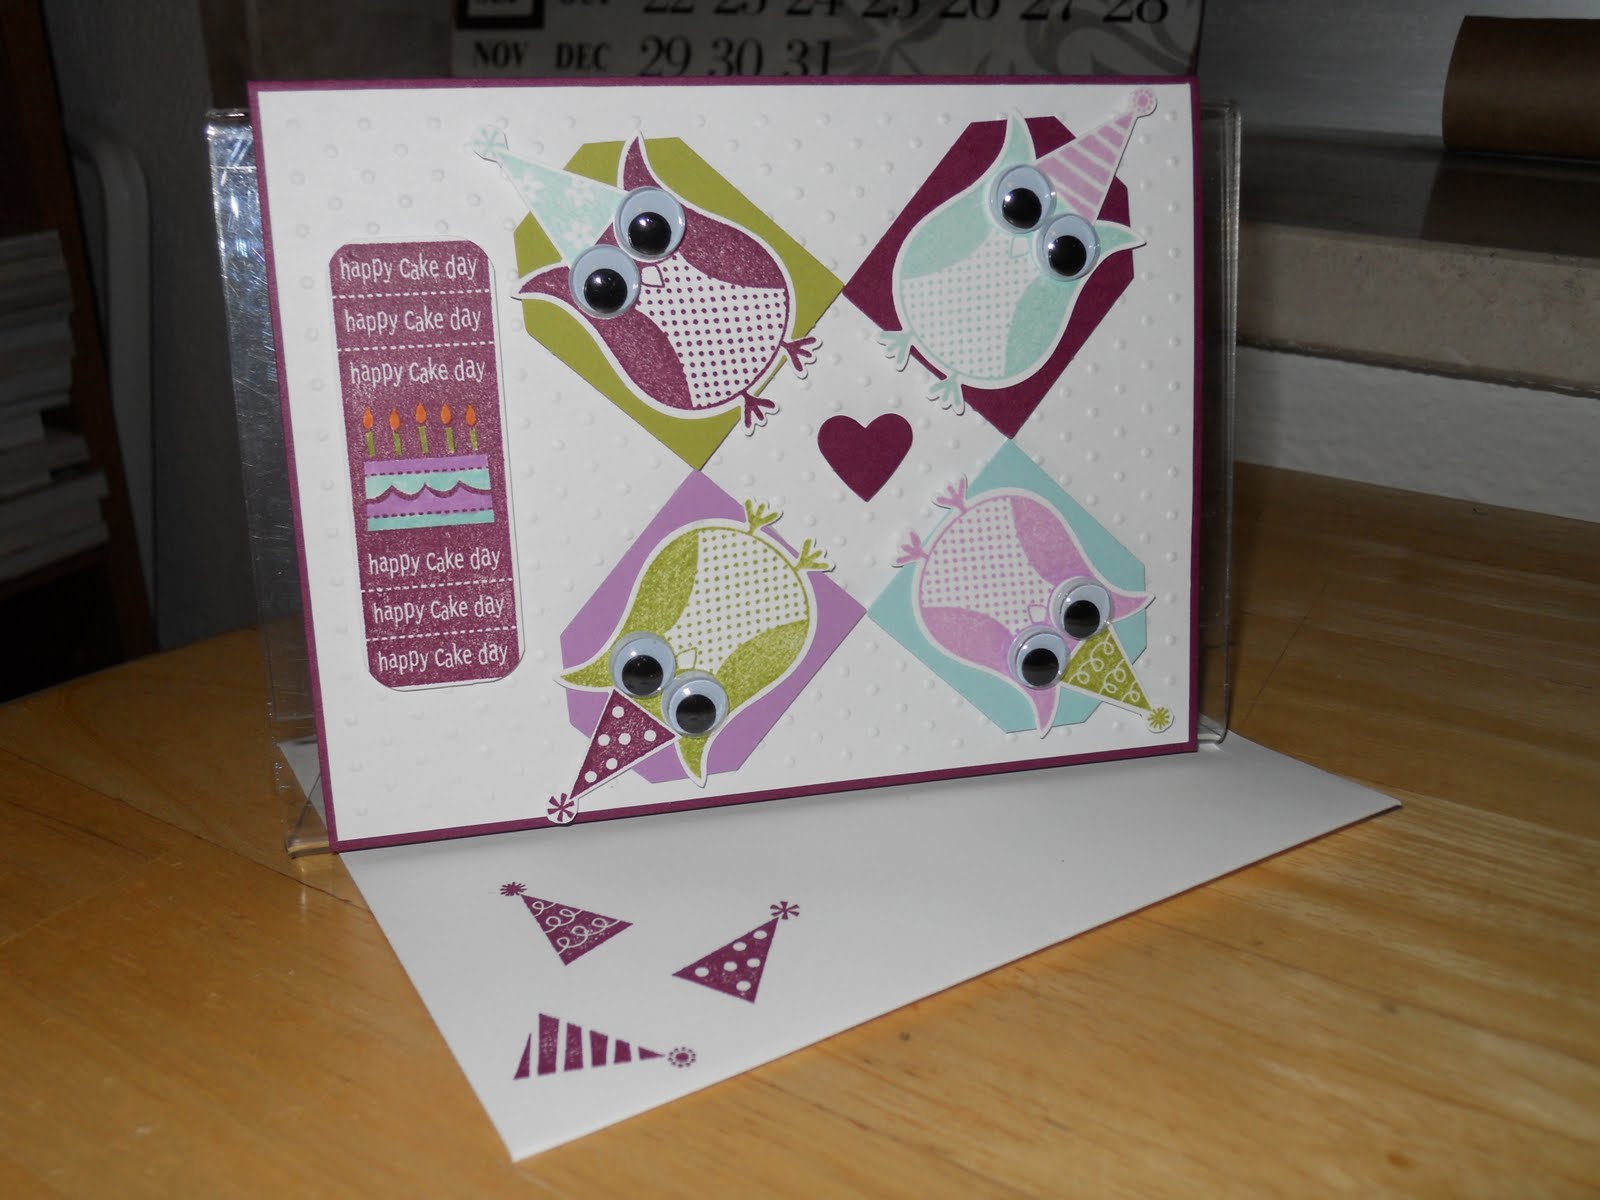
So this is the card that I finally finished for this challenge:
Recipe:
Stamps: It's a Wrap Occasions, Party Hearty, Punch Bunch, Perfectly Penned (inside)
Paper: Rich Razzleberry, Whisper White, Lucky Limeade, Pool Party, Orchid Opulence
Ink: Rich Razzleberry, Lucky Limeade, Pool Party, Orchid Opulence
Accessories: dimensionals, large tag punch, googley eyes, small heart punch, corner rounder punch, polka dot embossing folder, owl punch, paper snips

I think it's pretty cute! Late...but cute, lol!

Saturday, September 3, 2011

ColourQ Challenge #100

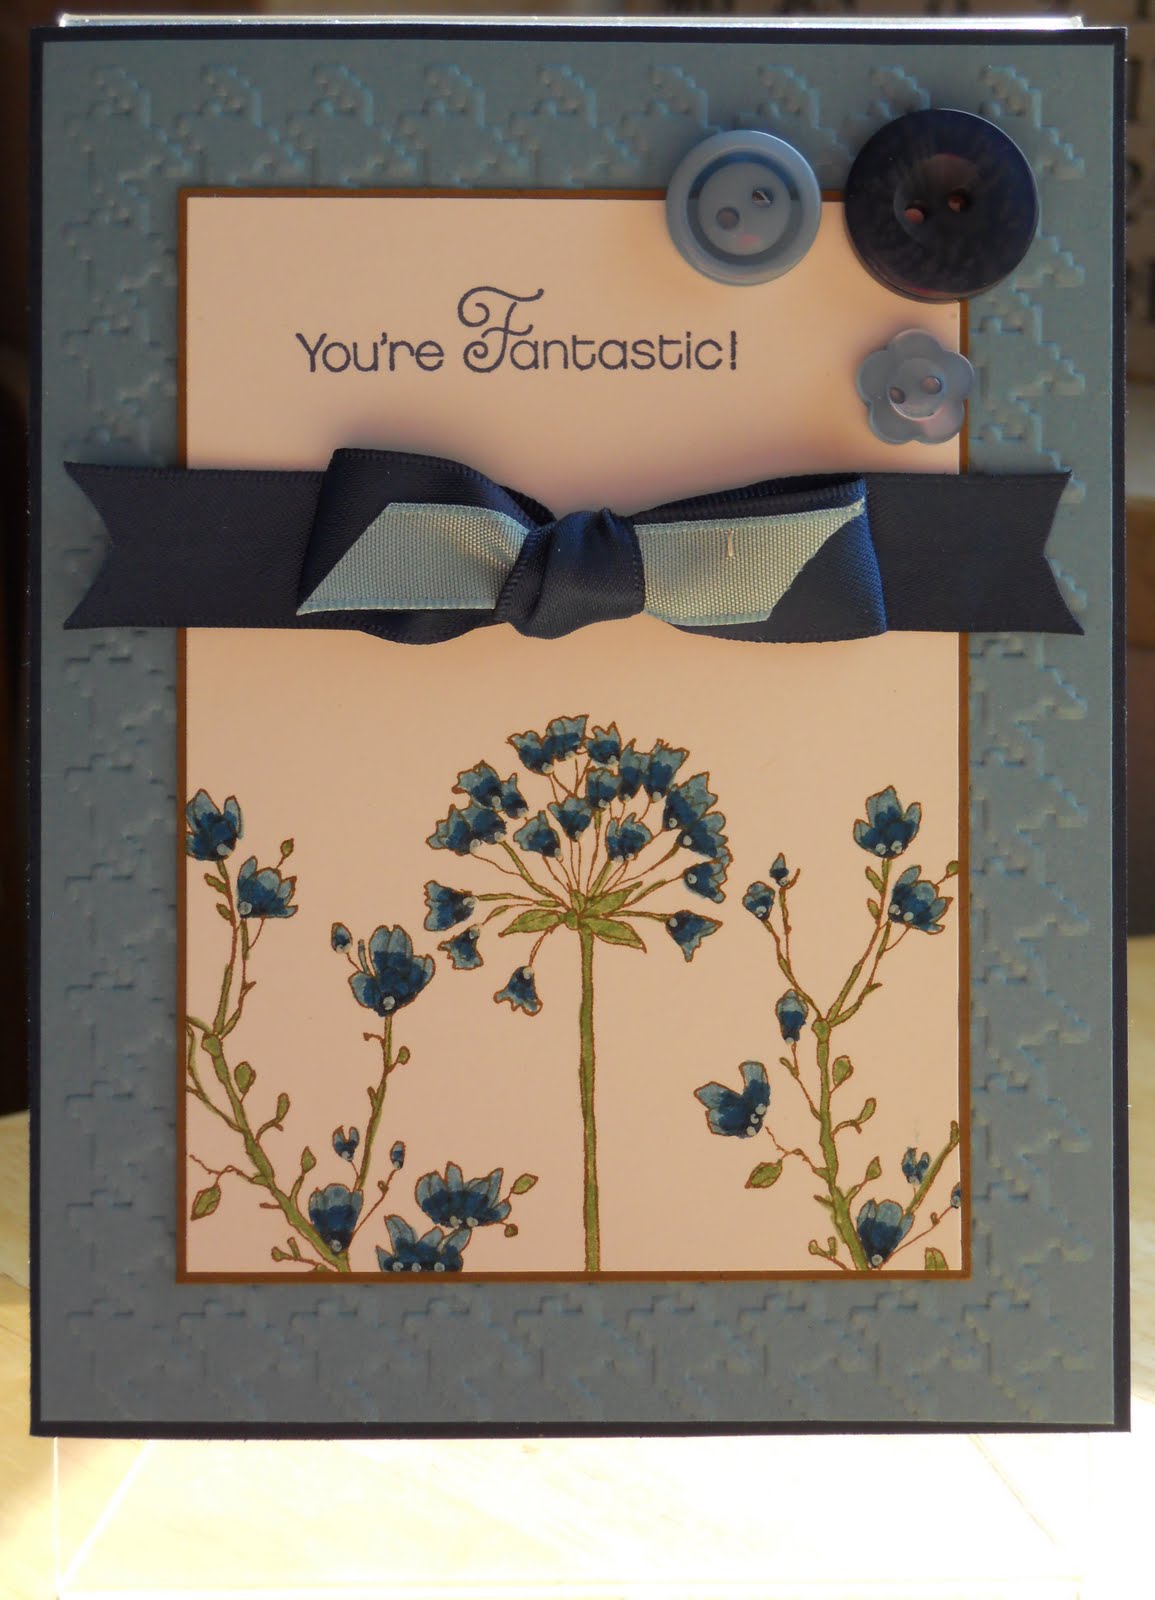
This week's challenge had two parts. The first was to use the above sketch, and the second was to pick any previous ColourQ color combos to use with it! With so many to choose from, I narrowed it down to five and then couldn't decide!! Finally, I chose this one:

My card for this challenge:
Recipe:
Stamps: Simply Soft, Perfect Words, Happy Greetings (inside)
Paper: Night of Navy, Marina Mist, Soft Suede, Whisper White
Ink: Night of Navy, Soft Suede
Accessories: SU markers, Night of Navy satin ribbon, Marina Mist taffeta ribbon, glue dots, white gel pen, SU buttons, herringbone embossing folder


This was FUN!
*fingers crossed!!*

UPDATE: I was choosen as a Courtier this week! Fabulous!! Thank you ColourQ Team!!

Sunday, May 1, 2011

ColourQ Challenge #82

When I saw this week's colors I was 100% stumped on what to make! I seriously didn't even know where to start!!! As luck would have it though, I had a computer printed copy of Brenda's peacock from Stampin' Connection on my desk and it all came together. Whew!!!

My card for this week's challenge:
Side view - You can see the layers

With my camera flash on - sparkly!!!

Recipe:
Stamps: Teeny Tiny Wishes, Tiny Tags
Paper: Whisper White, Always Artichoke, Kiwi Kiss, Pear Pizzazz, Baja Breeze
Ink: Pear Pizzazz
Accessories: embossing folder, dimensionals, Giga scallop circle punch, scallop circle punch, word window punch, owl punch, 3/4" circle punch, 1/2" circle punch, decorative label punch, Always Artichoke seam binding ribbon, bitty punches, bitty buttons, mini glue dots, googley eyes, trio flower punch, clear rhinestones

This was a really fun card to make!

Sunday, February 27, 2011

Colour Q Challenge #73

Cutting this week's entry very, very close!! I took a little bit of a liberty with the colors for this challenge, but I wanted to make these ribbon flowers and these are the colors I had, lol! Still, they are pretty close I think.

My card for this week's challenge:
Recipe:
Stamps: Vintage Labels, Just Believe
Paper: Night of Navy, Marina Mist, Pear Pizzazz, Very Vanilla, Vintage Spring DSP
Ink: Marina Mist, Night of Navy
Accessories: N.N., M.M. & Rich Razzleberry satin ribbon, MS leaf punch, SU leaf punch, mini glue dots, dimensionals, vanilla crocheted lace, rhinestone brads, corner scallop punch, nesties

side view

These satin flowers are easy!! If I can do it, anyone can - seriously!
satin rose tutorial - LINK
scalloped flower tutorial - LINK

What do you think?

Stamp Happy!

Tuesday, January 25, 2011

ColourQ Challenge #69

It's that time again!!! I know Mr. Iggy looks forward to this challenge every week...just so he can poke fun at Stampin Up's awesome color names, lol! Men!! I've had something I had wanted to try for a long time, and while I was waiting to see what this week's colors were, I thought I'd try it this week if the colors didn't 'speak' to me in some other way. See? Planning ahead!!

My card for this week's consideration:
Recipe:
Stamps: Three Little Words
Ink: Rich Razzleberry
Paper: Crumb Cake, Rich Razzleberry, Cajun Craze, Peach Parfait, Whisper White
Accessories: RR ribbon, lacey nestie square, heart button, bitty punches

Trying something 'clean & simple' this week -
What do you think???

You can check out the other entries HERE.

Sunday, January 23, 2011

ColourQ Challenge #68

When I saw the colors this week, I had no clue exactly what to do with them, lol!! So why re-invent the wheel....just follow the inspiration picture!!

My card for this week's consideration:
Recipe:
Stamps: Baroque Motifs, Greenhouse Garden
Ink: Cherry Cobbler, Poppy Parade, So Saffron, Always Artichoke
Paper: Always Artichoke, So Saffron, Whisper White
Accessories: SU ribbon, swirls embossing folder, top note die, round paperclip

Inside of card

It's been a while since I've had a chance to participate in card challenges!! Feels so good though! If you want to see the other entries this week, check out the ColourQ Blog!

Wednesday, December 29, 2010

ColourQ Challenge #65

I'm getting this done, EARLY!, so I don't forget, lol!!! At first I had no clue what on earth to do with these colors, and for me these colors didn't "speak" flowers. Luckily, the CQ Design Team came through with gobs of inspiration and I went with a more vintage take instead. Thank you Design Team!!! I also wanted to use stamps I haven't used before and sadly, I have too many of those. So many stamps, so little time - ya know??

My card for this week's consideration:
Recipe:
Stamps: Baroque Motifs, Measure of a Life, Provencal
Paper: Crumb Cake, Old Olive, Basic Black, Basic Gray, Very Vanilla
Ink: Versamark, Old Olive, Crumb Cake Soft Suede
Accessories: Black embossing powder, Old Olive ribbon, SU markers, dimensionals, nesties, vanilla tissue paper, shimmer spray, designer brad, slot punch

I stamped the main image with Versamark and embossed it with black embossing powder. Then I colored it with SU markers, and sponged the edges. Crumb Cake and Soft Suede are perfect together for giving paper that vintage look! For the background squares, I used the Faux Linen technique by stamping on vanilla tissue paper, crumpling it all up and then gluing it (glue sticks work best for this method!) to Old Olive cardstock. Just be sure to cut the cardstock with the tissue paper facing DOWN! Just ask me how I know, lol!

I used a Nestie set to cut out and emboss this key. Then I used my shimmer mist and really soaked it to give it a metallic look. It's much more sparkly in real life! This lovely brad is from my stash from Hobby Lobby. (Gosh I miss that store!!!)

Don't you love this quote??

For layout help, this card is also done using this week's Mojo Monday sketch!

What do you think???

Thursday, December 23, 2010

ColourQ Challenge #64

It's that time again! Seeing how all my Christmas cards are finished, it's time to do something different! Yay!!! I love making Christmas cards, don't get me wrong, but I'm just ready for something new. When I saw this week's colors - I thought - great! Now I can finally finish my card for Rachel!! She found out her baby will be a girl, and I've had the basecard cut for over a month....just not finished! So without further ado...

Here is my card for this week's consideration:
Recipe:
Stamps: Teeny Tiny Wishes, So Sweet, Tiny Tags
Paper: Whisper White, Pink Pirouette, Regal Rose, Real Red, Pear Pizzazz
Ink: Regal Rose, Basic Black
Accessories: pop dots, heart border punch, word window punch, modern label punch, heart brads, lace, SU markers
I thought my "crib" looked too much like a window, so I went back and added the bunny and rug. I'm really happy with the way it turned out! What do you think??

Check out everyone else's creations at the ColourQ!

Sunday, December 19, 2010

ColourQ Challenge #63

Whew! Cutting it close with entering again....and because my camera battery was dead this time! I've actually had this one done since Wednesday evening, if you can believe it, lol!!! I had a heck of a time finding something to make with these colors. I think this was the most "stumped" I've been so far for finding an idea. None of my stamps seemed to fit and I couldn't figure out what to do!!! On laying out the four colors of paper, I got the idea I wound up using...

My card for this week's consideration:
Recipe:
Stamps: SU Heard From The Heart
Paper: Bermuda Bay, Chocolate Chip, Kiwi Kiss, Ruby Red
Ink: Chocolate Chip, Kiwi Kiss
Accessories: Bermuda Bay ribbon, gingerbread man brad, large scalloped circle punch, small scalloped circle punch, 1 1/4" circle punch, 1/8" circle punch, vintage brad, curly label punch, dimensionals. embossing folder, ruby red ribbon, mini glue dots
Close-up of wreath

I'm pretty sure this is the last ColourQ challenge of the year. I can't wait to see what they come up with for 2011!!! It's been a blast so far!

Friday, December 10, 2010

ColourQ Challenge #62

Seeing how I'm so hopelessly behind on my Christmas cards this year, I was very relieved to see the ColourQ colors this week! I could play along and get another card off my To Make list! Yea!! I also haven't been on the Court in a longggg time (of course playing actually helps, I'm sure!), and I've only been the Queen once.......so.....I knew I really wanted to make a special card to get their attention! A 'wow' card. An award winning card, lol!!! *hint, hint* LOL!

My card for this week's consideration:
Ta da!! (click to enlarge picture)

Recipe:
Stamp: Magnolia's Tilda with Violin
Paper: textured Real Red, Glorious Green, Copic paper
Ink: Momento Tuxedo black, Copic markers
Accessories: Real Red SU ribbon, champagne glass glitter, sparkle gel pen, poinsettia flowers, Nesties, sparkle brads, shimmer mist spray
There is a lot going on with this card! I used shimmer spray on the base cardstock. If you enlarge this photo, you can see a bit of the shimmer. In real life, this thing really sparkles! This was the first time I've used my new glass glitter and I love it!! It's also only the second card I've made using my new Copics. I'm still learning but I LOVE the way you can blend these babies!!!
Close up shot
My little Magnolia angel!

Keeping my fingers crossed!!!! What do you think?
Want to play too? Head on over to the ColourQ Blog!!!