Here are the stamps we got at Convention:

 This super cute embellishment was on my Prize Patrol package!
(And I've decided to finally get the BIGZ die to make these flowers!!!)
I was stoopid in not making swaps for Convention!! So listen to the voice of experience...if you go to Convention - MAKE SWAPS!!!! Because otherwise you will just be standing there, looking dumb, and apologizing constantly. And it really sucks to feel left out when fun stuff is going on!! But...God bless 'em, some people felt sorry for me and gave me theirs anyway!


 Aren't they wonderful??? Trust me, I've learned my lesson on swaps!!!
I DID however join one organized swap - for Card Candy!!! It was so thrilling to get sets in return - better than Christmas! Here they are:


 Stunning little works of art - every one!!
Thank you so much ladies!!!
YOU ROCK!
Some Convention goodies:
 My lanyard and badge
We were given "Make & Take" projects and given time and tools to make them up. #1 I was really too tired to stamp (crazy, I know!), and #2 I didn't want them to get smooshed in my suitcase, so I saved them in their shrinkwrap for the trip home. I'll make them up...eventually, lol! I have Christmas stuff to focus on first!


I also received this awesome binder...

...with the new catalog inside!! So cool!

One of the BEST THINGS we got was this bag!
 I knew we were getting it, and as I'm not a bag person, I had every intention of selling it or giving it away. But, yeah...it's wicked awesome and pretty, and oh-so-practical!!! I used it as my carryon for the return home! I didn't want it out of my sight!!!
 The gorgeous embroidery is used with some of the new In Colors this year!
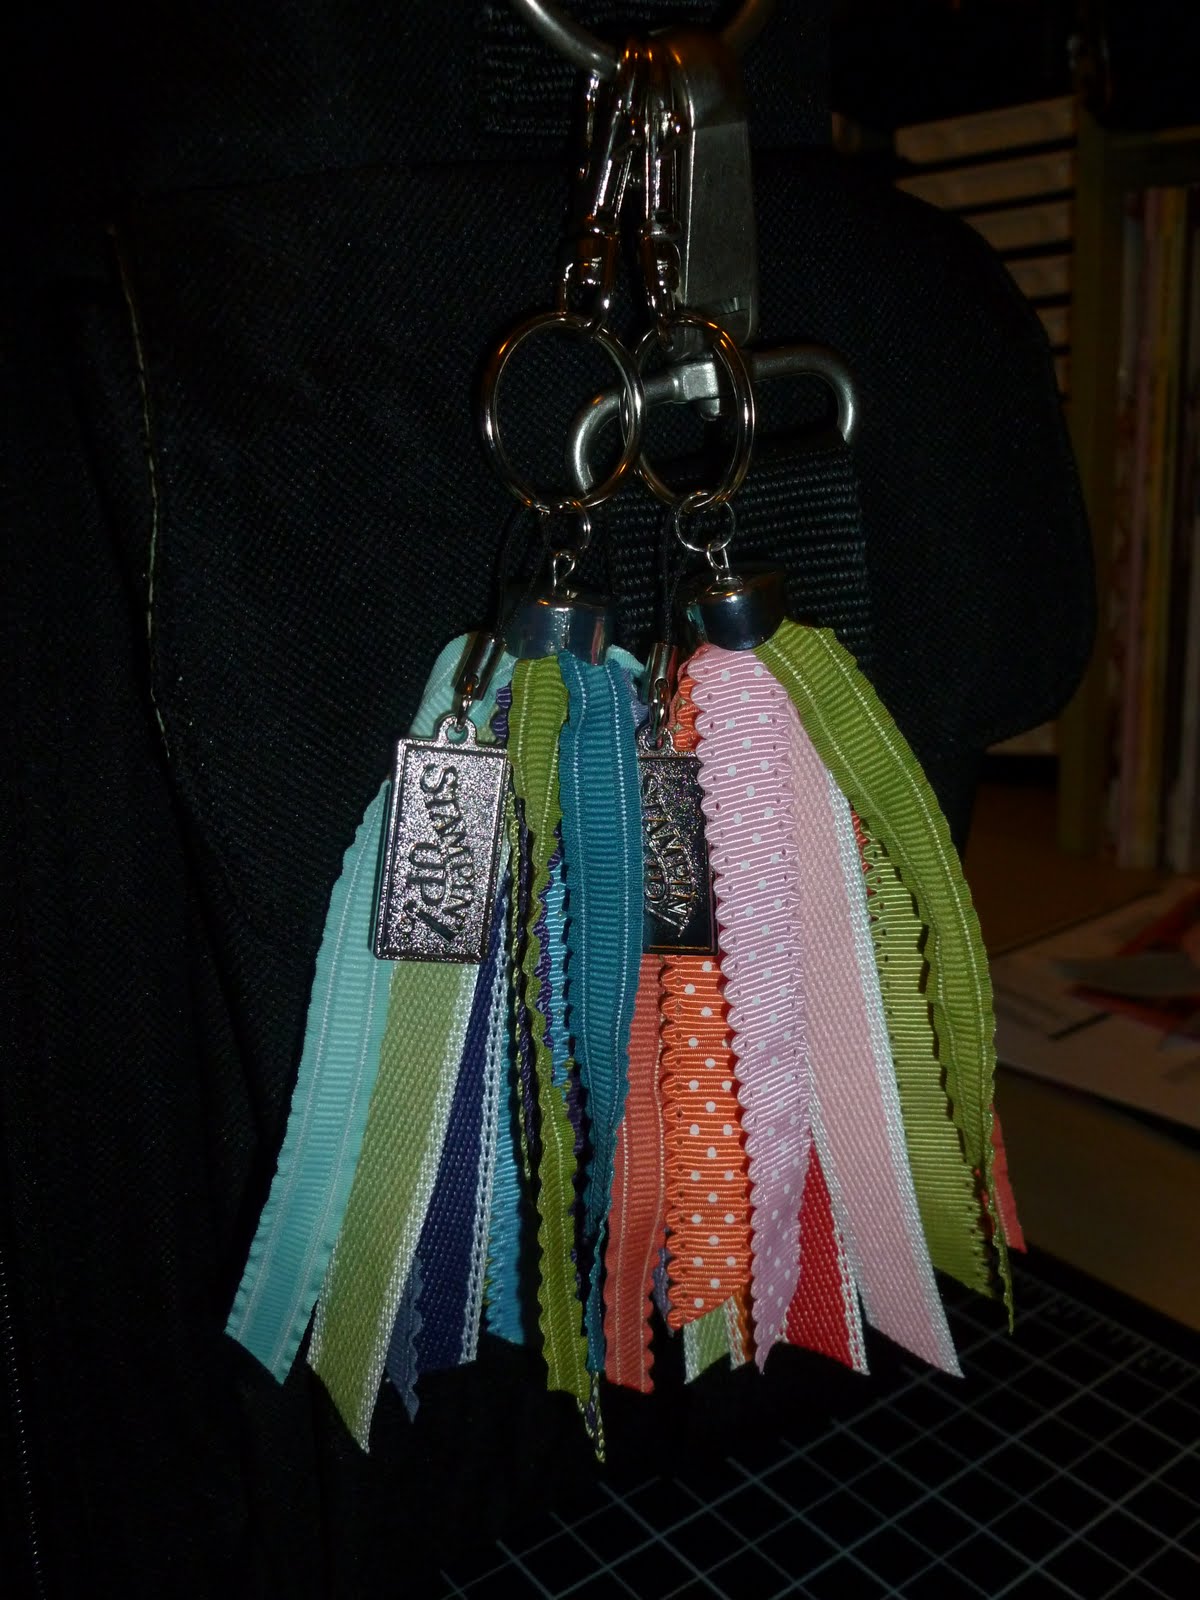 I purchased two ribbon key chains in matching colors too!
 There are so many zippers and pockets on this thing!
It was designed by a brilliant engineer!
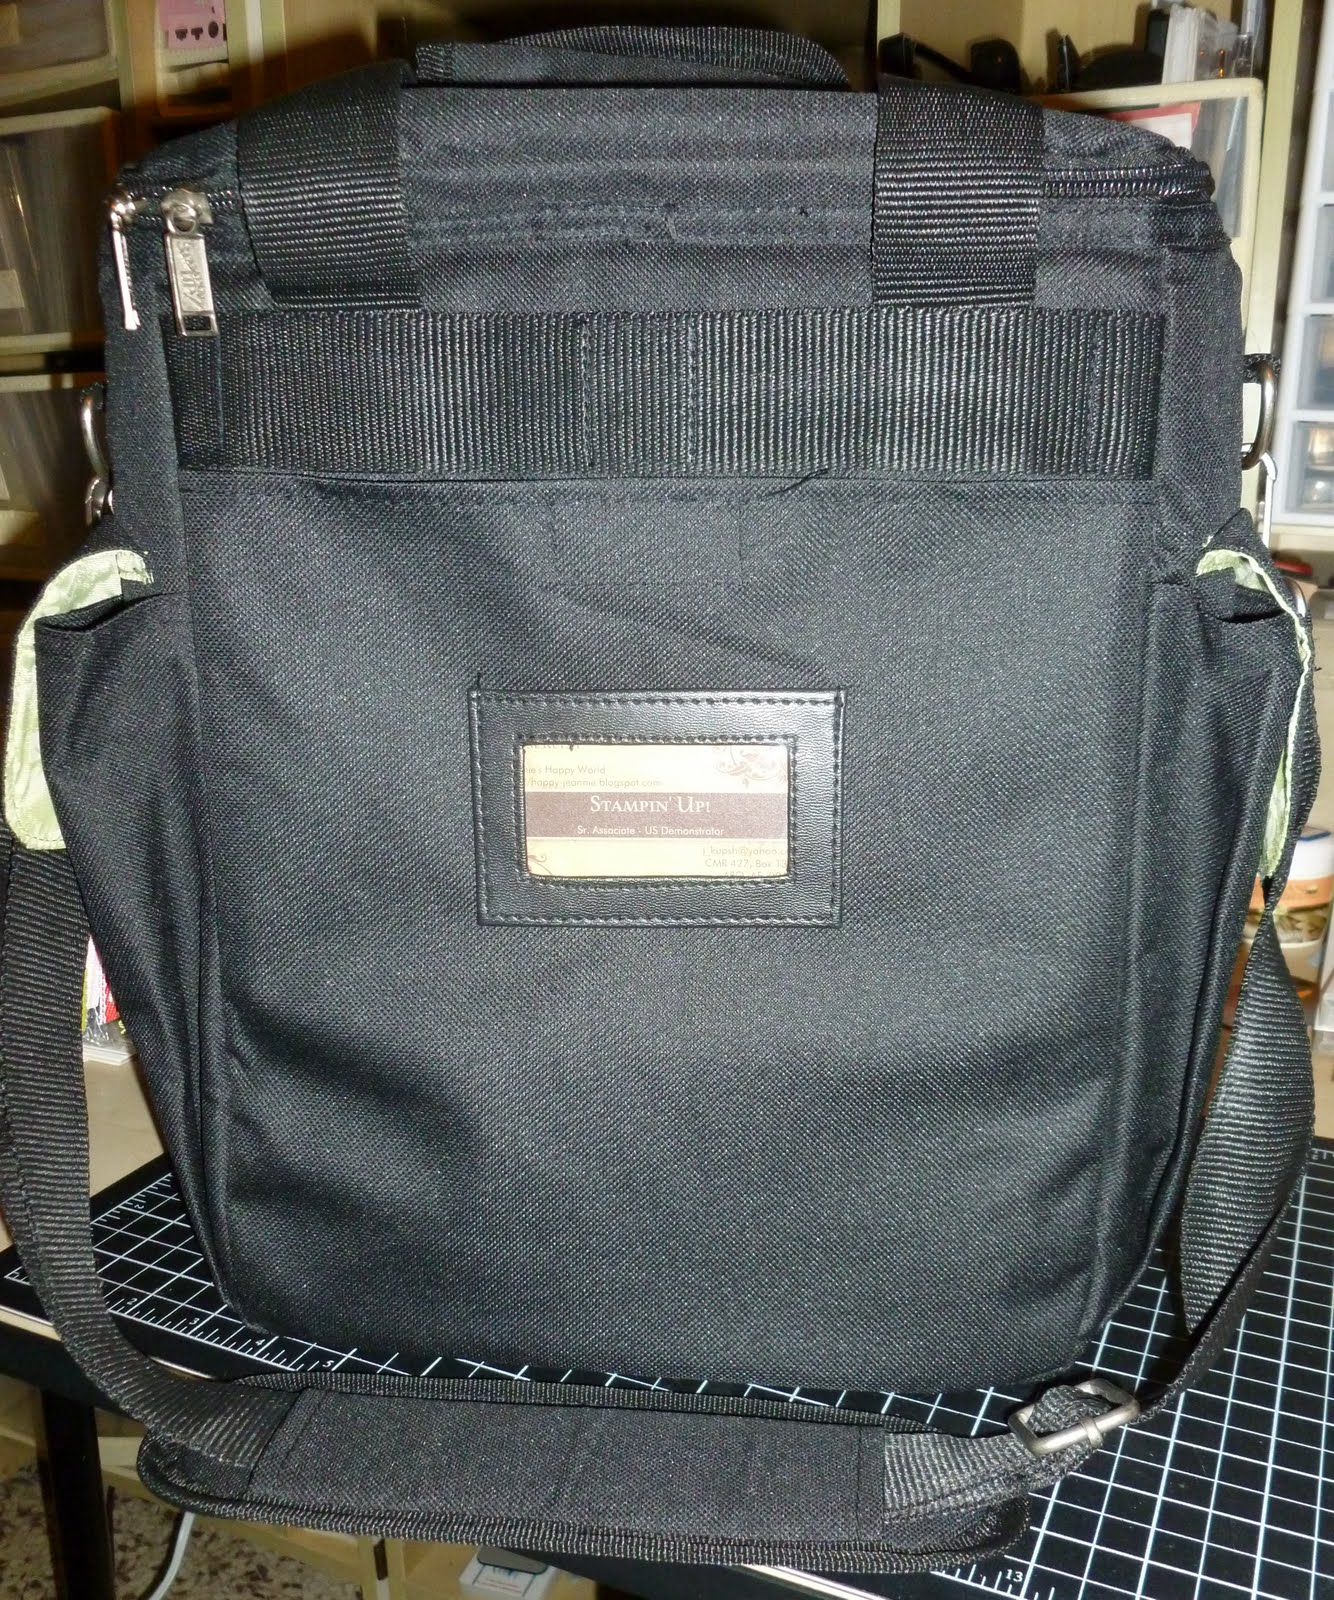 There's a slot to attach it to your suitcase for travel (through your handle) and even a spot for your business card!
 So yeah....I'm keepin' it!
(sorry!)
Inside the bag we had these:
 Matching the "Grow" theme of the Convention, we had a keychain, pin and matching pen!
Almost forgot! I got this 3D swap too!
 I KNOW you've never seen a packet of Kleenex wrapped up so cute!!
I also purchased two card holders. They look like leaves on stems!
And the "bloom" is your card - so cute!!!
And the "bloom" is your card - so cute!!!

Of course, I had to get a mini Eiffel Tower!!
I knew I was buying one before we even left!
I knew I was buying one before we even left!

And this gorgeous scarf was being sold at Momento Mall.
It was originally given to people who earned a trip to Prague, I believe.
Soooo colorful and soft!

This is the fabric that was included in my Prize Patrol package. It is the Beau Chateau print and matches the paper perfectly!! No clue what I'm going to do with it exactly, but they showed a lot of techniques at Convention using material!! So...we shall see!

And last, but not least....this beautiful ribbon
 Someone sadly dropped it on the ground and I found it. I asked all around, but no one claimed it - so it's mine now!!! It's sheer black, with sparkly silver hearts and swirls on it. It's going to be smashing on a card or two...perhaps for Valentine's Day???
And now I am finallllly finished with my trip posts!! And we can get back to the regularly scheduled programming! And perhaps some stamping too!!!!!! I've so missed it!