Showing posts with label PASTA!. Show all posts

Tuesday, July 9, 2013

Crab Ravioli!

While your pasta is doin' it's thing in the fridge, you can go ahead and make your filling! Today I'm making a crab ravioli and I found the most simple recipe by Martha Stewart. It's usually the simple recipes that have the most flavor and of course it makes it so easy to prepare! Plus I got to try out my brand new mini food processor - WIN!!!

Crab Filling:
1 cup crabmeat
1 cup ricotta cheese
salt and pepper
1/8 tsp red pepper flakes
2 Tbsp (approx) lemon juice

First I put the crab in and pulsed it until broken up. Then I added the cheese and just left it on until well mixed. Then I added the seasonings. (Next time I think I'll use some bay seasoning for an extra "kick"!) Scrape sides as needed to mix thoroughly. I added the lemon juice to the recipe as I love the lemon taste to any seafood! But you don't want to water down your filling too much! So I just added small amounts at a time and then blended.

This is what it looked like when I was finished.

So...now to shape the dough!
 Out of the fridge!

 I cut about 3/4" slices and work with one slice at a time.

 Put slice on floured surface, and roll thin enough to use on pasta machine.

Bella is rolling out this slice. Easy enough for a kid to do it!!!

 She really concentrates on it, lol!

I put it through the pasta machine roller (starting at one, and working up to five in thickness). For ravioli, my attachment comes with this cutter so the pasta sheets are the exact width you need for it. The pasta left over goes back to the "log" and will be used!

I fold the sheet in half, and put the folded end in first, then turn the handle just enough so that it catches.
Then I put a bit of filling in the middle, but not to the edges! Just add more filling if needed as you turn the handle!
Turn, turn, turn and out pops a sheet of finished raviolies!! I only have a pizza cutter, so the edges aren't pretty, but I have a proper pasta cutter on it's way from Amazon.
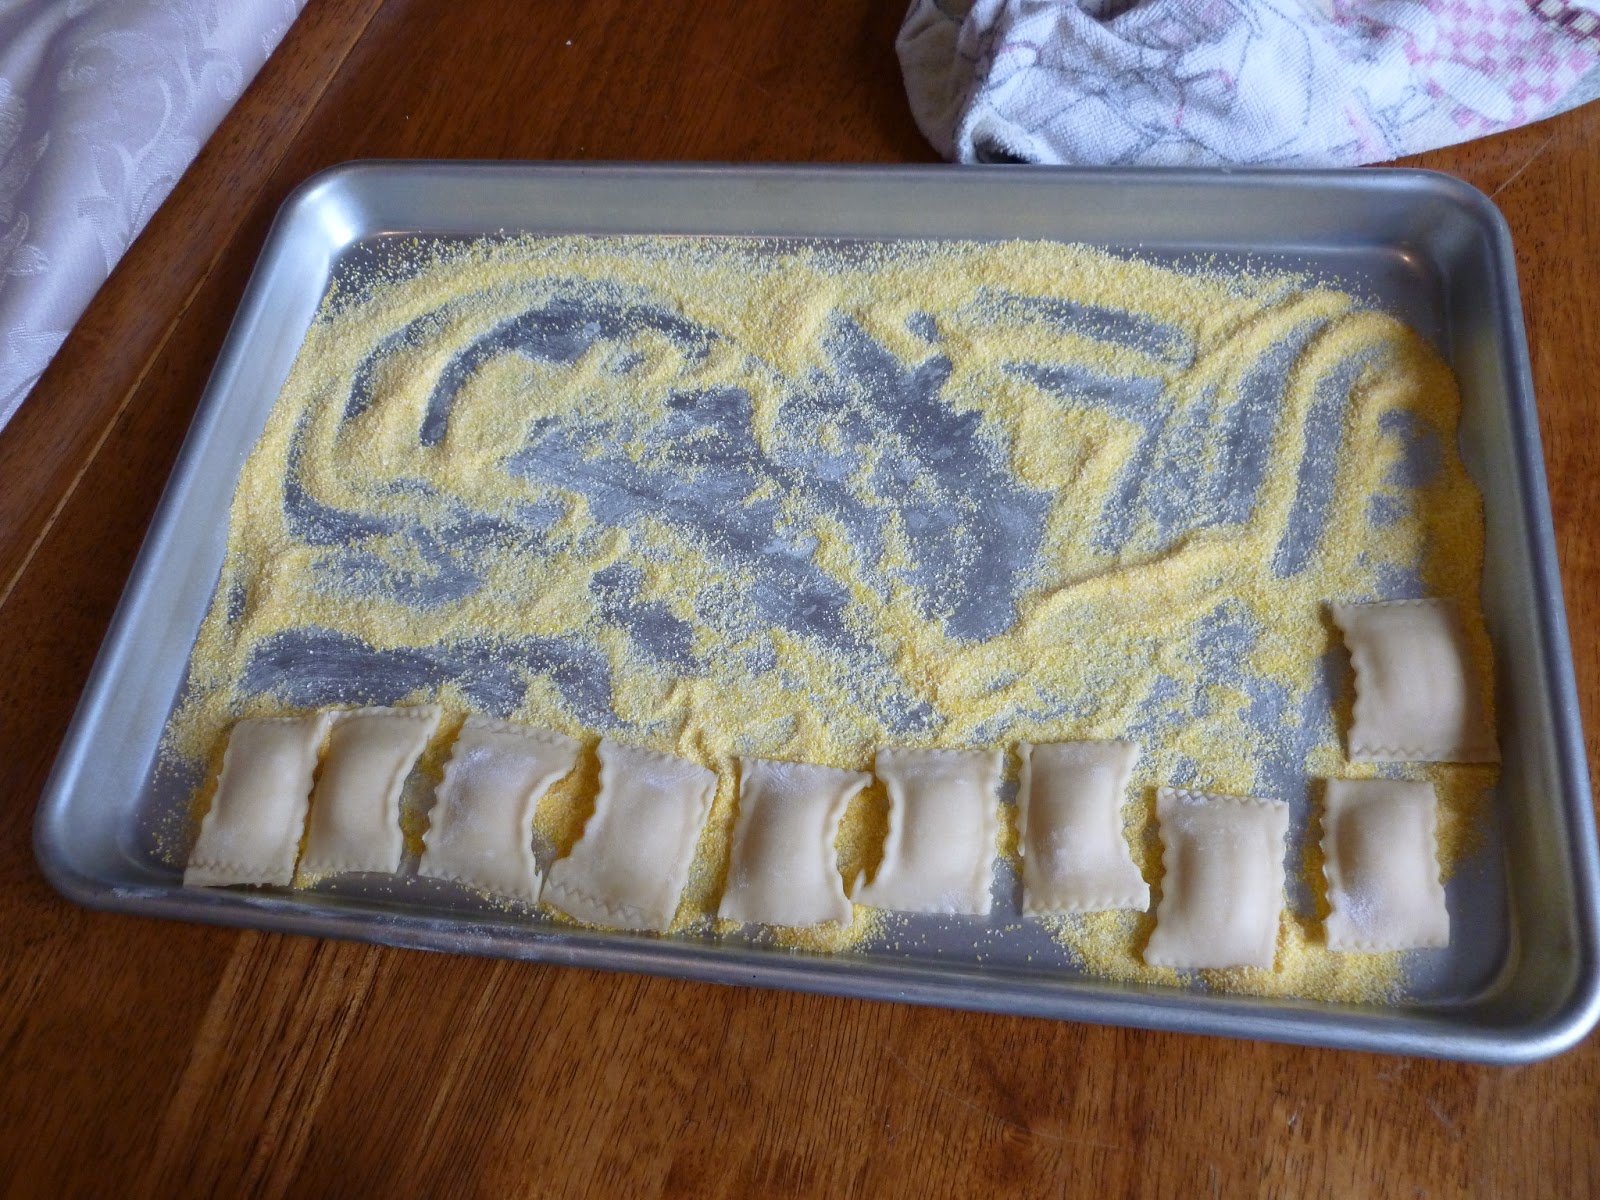
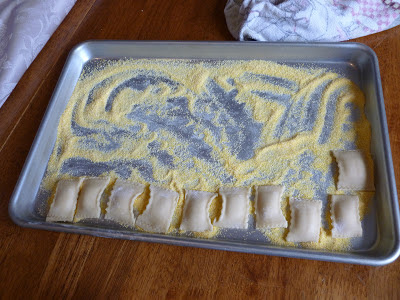
As I cut apart the raviolies, I place them on a cookie sheet sprinkled with corn meal to dry. Keep repeating the process until all the dough has been used.
My triple batch of pasta made nearly 3 cookie sheets of ravioli!! There is very little waste of the pasta dough. I let it dry for about an hour, flip over, wait another hour. They should feel dry and rather "leathery". Then I put them in a 1 gallon ziplock bag and put them in the fridge if I'm not going to use them right away.

Easy Alfredo Sauce:
1/2 cup of butter (one stick)
1 - 8 oz. package of cream cheese
2 tsp of garlic powder
2 cups of milk
6 oz. grated Parmesan cheese
1/8 tsp pepper

Melt butter in a medium, non-stick saucepan over medium heat. Add cream cheese and garlic powder, stirring with wire whisk until smooth. Add milk, a little at a time, whisking to smooth out lumps. Stir in Parmesan and pepper. Remove from heat when sauce reaches desired consistency. Sauce will thicken rapidly, thin with milk if cooked too long. Serve over hot pasta.

 Soooooo yummy good!!!

Fresh Pasta Tutorial!

I have always loved fresh pasta!!! And after living in Italy, and eating it all the time, going back to the boxed stuff was a real let-down! I always thought making pasta was "hard" and "messy" and "time consuming". It's NOT!!!! It's so easy! And to prove it to you, I made this little tutorial. So if I can do this in less than ten minutes, while stopping to take photos, then you can too!

Basic Pasta Recipe:
1 cup all purpose flour
1/2 tsp salt
1 large egg
1-2 Tbsp water/olive oil as needed

When I make pasta I make a double batch, unless I'm making ravioli and then I triple it. Traditionalists would have you believe that the mixing needs to be on the countertop or a cutting board. Now that is messy! So seeing how I'm neither a fan of making or cleaning up messes, I do my mixing in a large mixing bowl!

Step One: Measure flour into bowl, then add salt. Mix well with a fork.

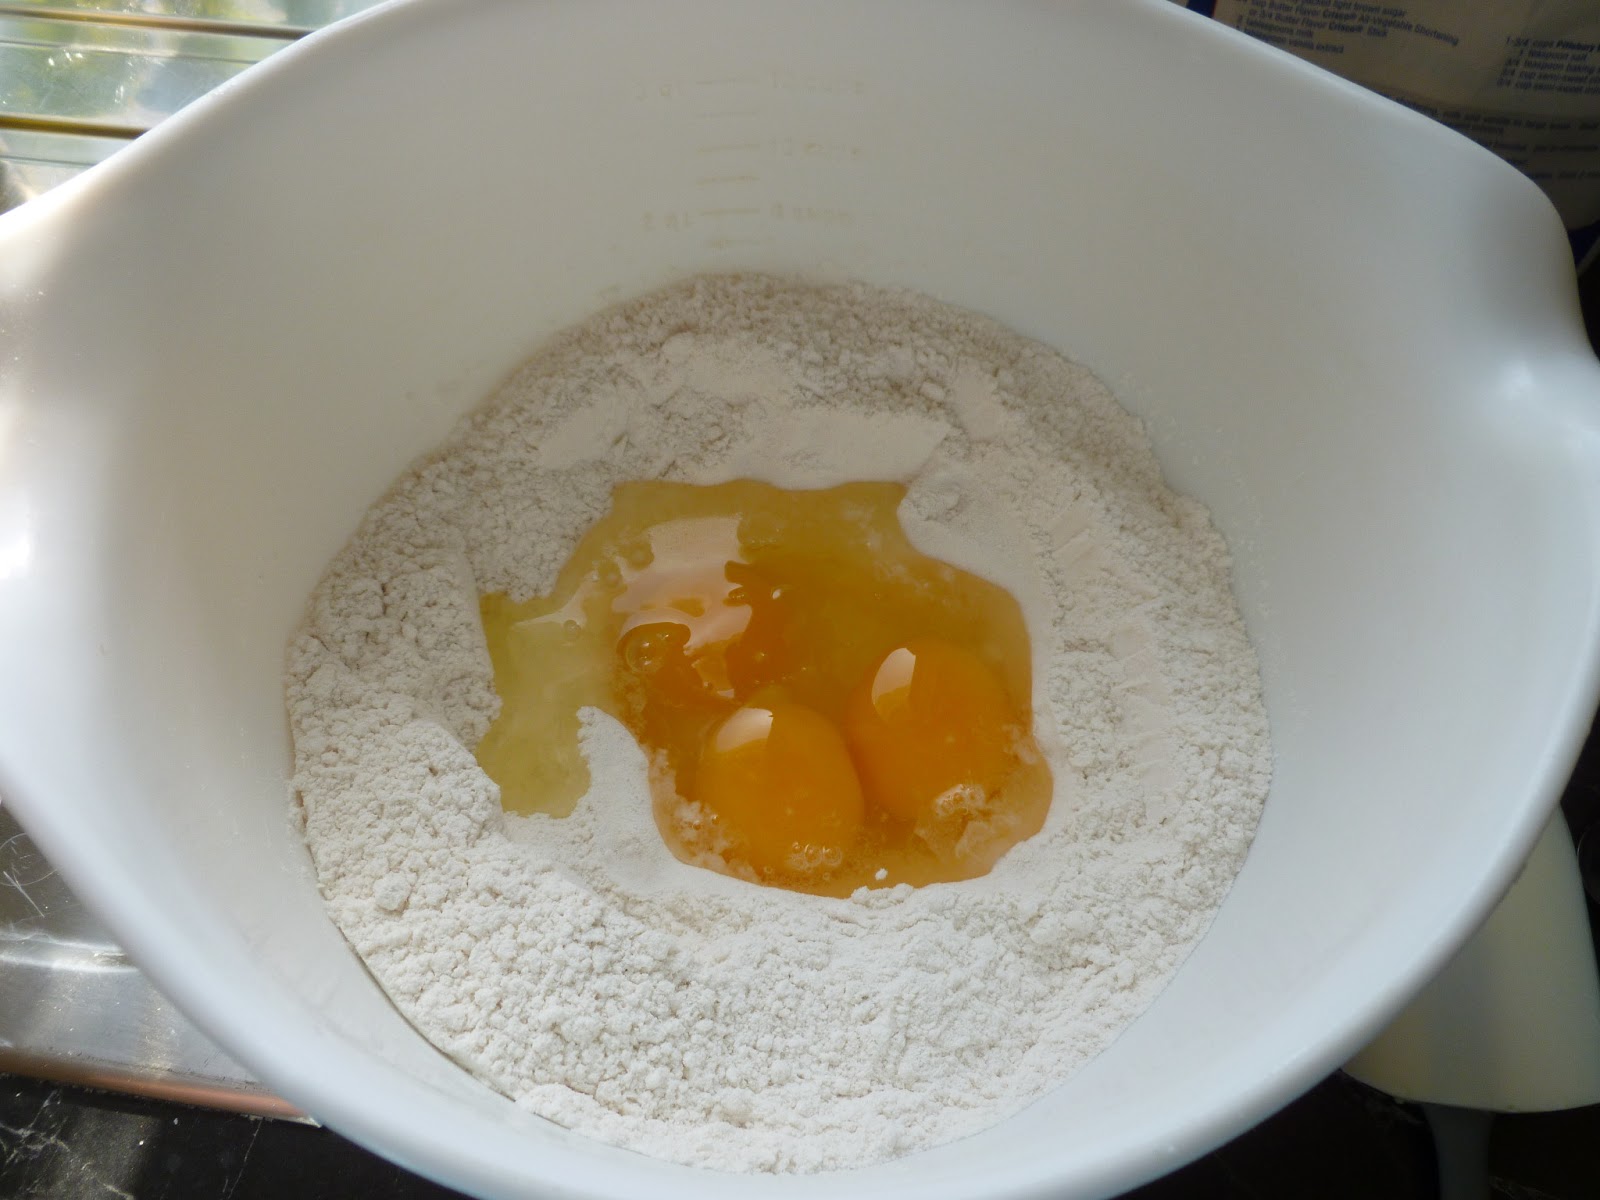
Step Two: Using your fork, push flour up against the sides of the bowl, making a well in the middle, but not all the way down to the bottom. It should be an indentation! Crack open your eggs and fill the well.

Step Three: Using your fork, gently beat your eggs in the middle, like you're making scrambled eggs.

Step Four: Gradually incorporate the flour as you continue to beat the eggs.

Step Five: Keep going until your dough looks like this. Now you can knead it, INSIDE your bowl! Add water or olive oil as needed if your dough is dry. I like to keep the water/olive oil ratio 50:50.

Step Six: Once your dough can form a ball, you are ready to knead on the counter.

Step Seven: Lightly flour your countertop. This is the only amount of space you will need!

Step Eight: Place dough on floured surface and begin kneading with the heels of your hands.

Knead till you push it flat,

fold in half, turn 90*,

repeat to work your dough. Keep going for about 8 minutes.

Step Nine: Roll dough into an even shaped log.

Step Ten: Place dough on one end of a sheet of plastic wrap. Roll, tucking in sides, and completely wrap up your dough.

Wasn't that EASY?!?!?

Place dough in refrigerator for at least an hour to allow the gluten to relax. This step is important for really great tasting pasta, and it will make shaping and cutting it a breeze!!! This batch of pasta will be used for making Crab Ravioli, so check back later for photos of that!!

Monday, July 8, 2013

What's for dinner?

I was craving some more fresh pasta, so...
...I whipped up some fresh linguine this morning.

I needed it to use on tonight's dinner of...
...Chicken Marsala!!!

And it was FABULOUS!!!!!!!
(It's OK if you're jealous; I'll understand.)

Tuesday, June 11, 2013

Why yes...I AM a Pasta Goddess!!!

I've always wanted to make my own pasta. Always!!! But having never seen it being made, or knowing anyone who's actually done it, I figured I probably never would. Once while we were in Italy, I was going to go to a pasta making class, but for some reason wound up never being able to go. But then...I saw that my friend Amanda was making some for dinner one night on Facebook. Que the oh-so-fun game of 20 bazillion questions, lol! She said it was easy. And really, if she could do it, why wouldn't I be able too, right??

I did some research and bought a pasta machine on Amazon. And a drying rack. And two attachments. When I do something, I don't do it a "little bit", lol! Go big or go home! So, after waiting and waiting (and waiting!!!!) on the slow assed mail, it finally arrived!!!! Yay!! But then, it was here. In a box. Looking so complicated and intimidating. Honestly, I wanted to just put it downstairs with the other kitchen stuff I don't have room to store in my cupboards. But if I did that, I knew I'd never use it.

So it sat on my counter. In the way. A daily accusation that it had been purchased, but not yet used. Every day that box made me feel like crap. I don't need any help feeling like crap!!! So today, was going to be the day that I braved the pasta!!! I figured no matter how badly it turned out, it wouldn't feel any worse than having an expensive toy I'd asked for just sit there unused. Ya know???

I had a recipe for the dough from online printed out and I followed the directions. (I did wind up adding a bit more water and olive oil than it called for, but it was too dry otherwise.) After mixing and kneading, I shaped it into a small log and wrapped it up tightly in plastic wrap. Then you're supposed to refrigerate it at least an hour. Mine wound up being more like 90 minutes because I was upstairs sorting out my new stamping order, lol!

Dough out of the fridge:
I unwrapped it, and sliced off about a 3/4" slice. I rolled it a bit on the counter and then ran it through the machine. Over and over till it was the desired thickness, and then through the noodle attachment. (My machine comes with a noodle and spaghetti attachment.) I was in cloud nine!!!! It rolled out like a champ, not too dry, not too wet, and the cutting part was like magic! So.Freakin'.Fun!!!!

Pasta on the drying rack:


My machine! As you can see, very little mess!!

Drying rack moved to the stove so I could clean up the table. Having never done this before, I was able to roll out and cut all my dough in 20 minutes!!! Pretty good considering I didn't know what I was doing, lol!!! But the proof, they say, is in the tasting...so stay tuned for the review! I'm making Shrimp Alfredo for dinner, with mozzerella garlic bread and green beans!!!! So hungry already, lol!

If this turns out OK (and I'm pretty sure it will!!!), I'm planning on making lasagne for dinner tomorrow, and mini ravioli the day after that!!! And then I'll have to order some exercise videos!! *big grin*